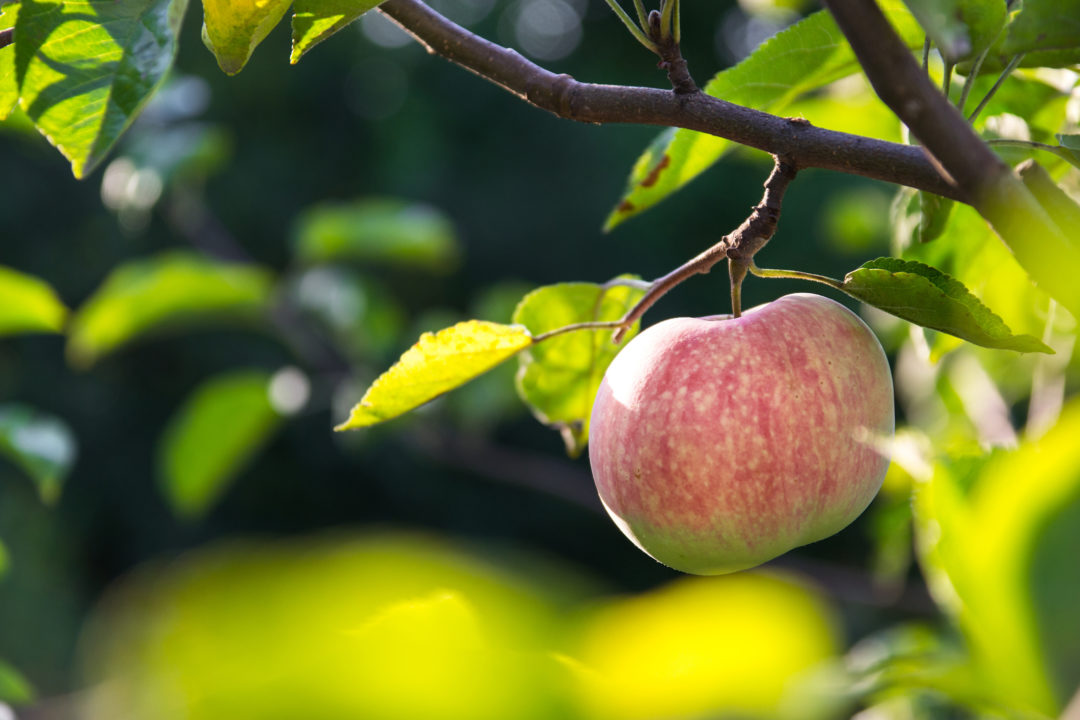
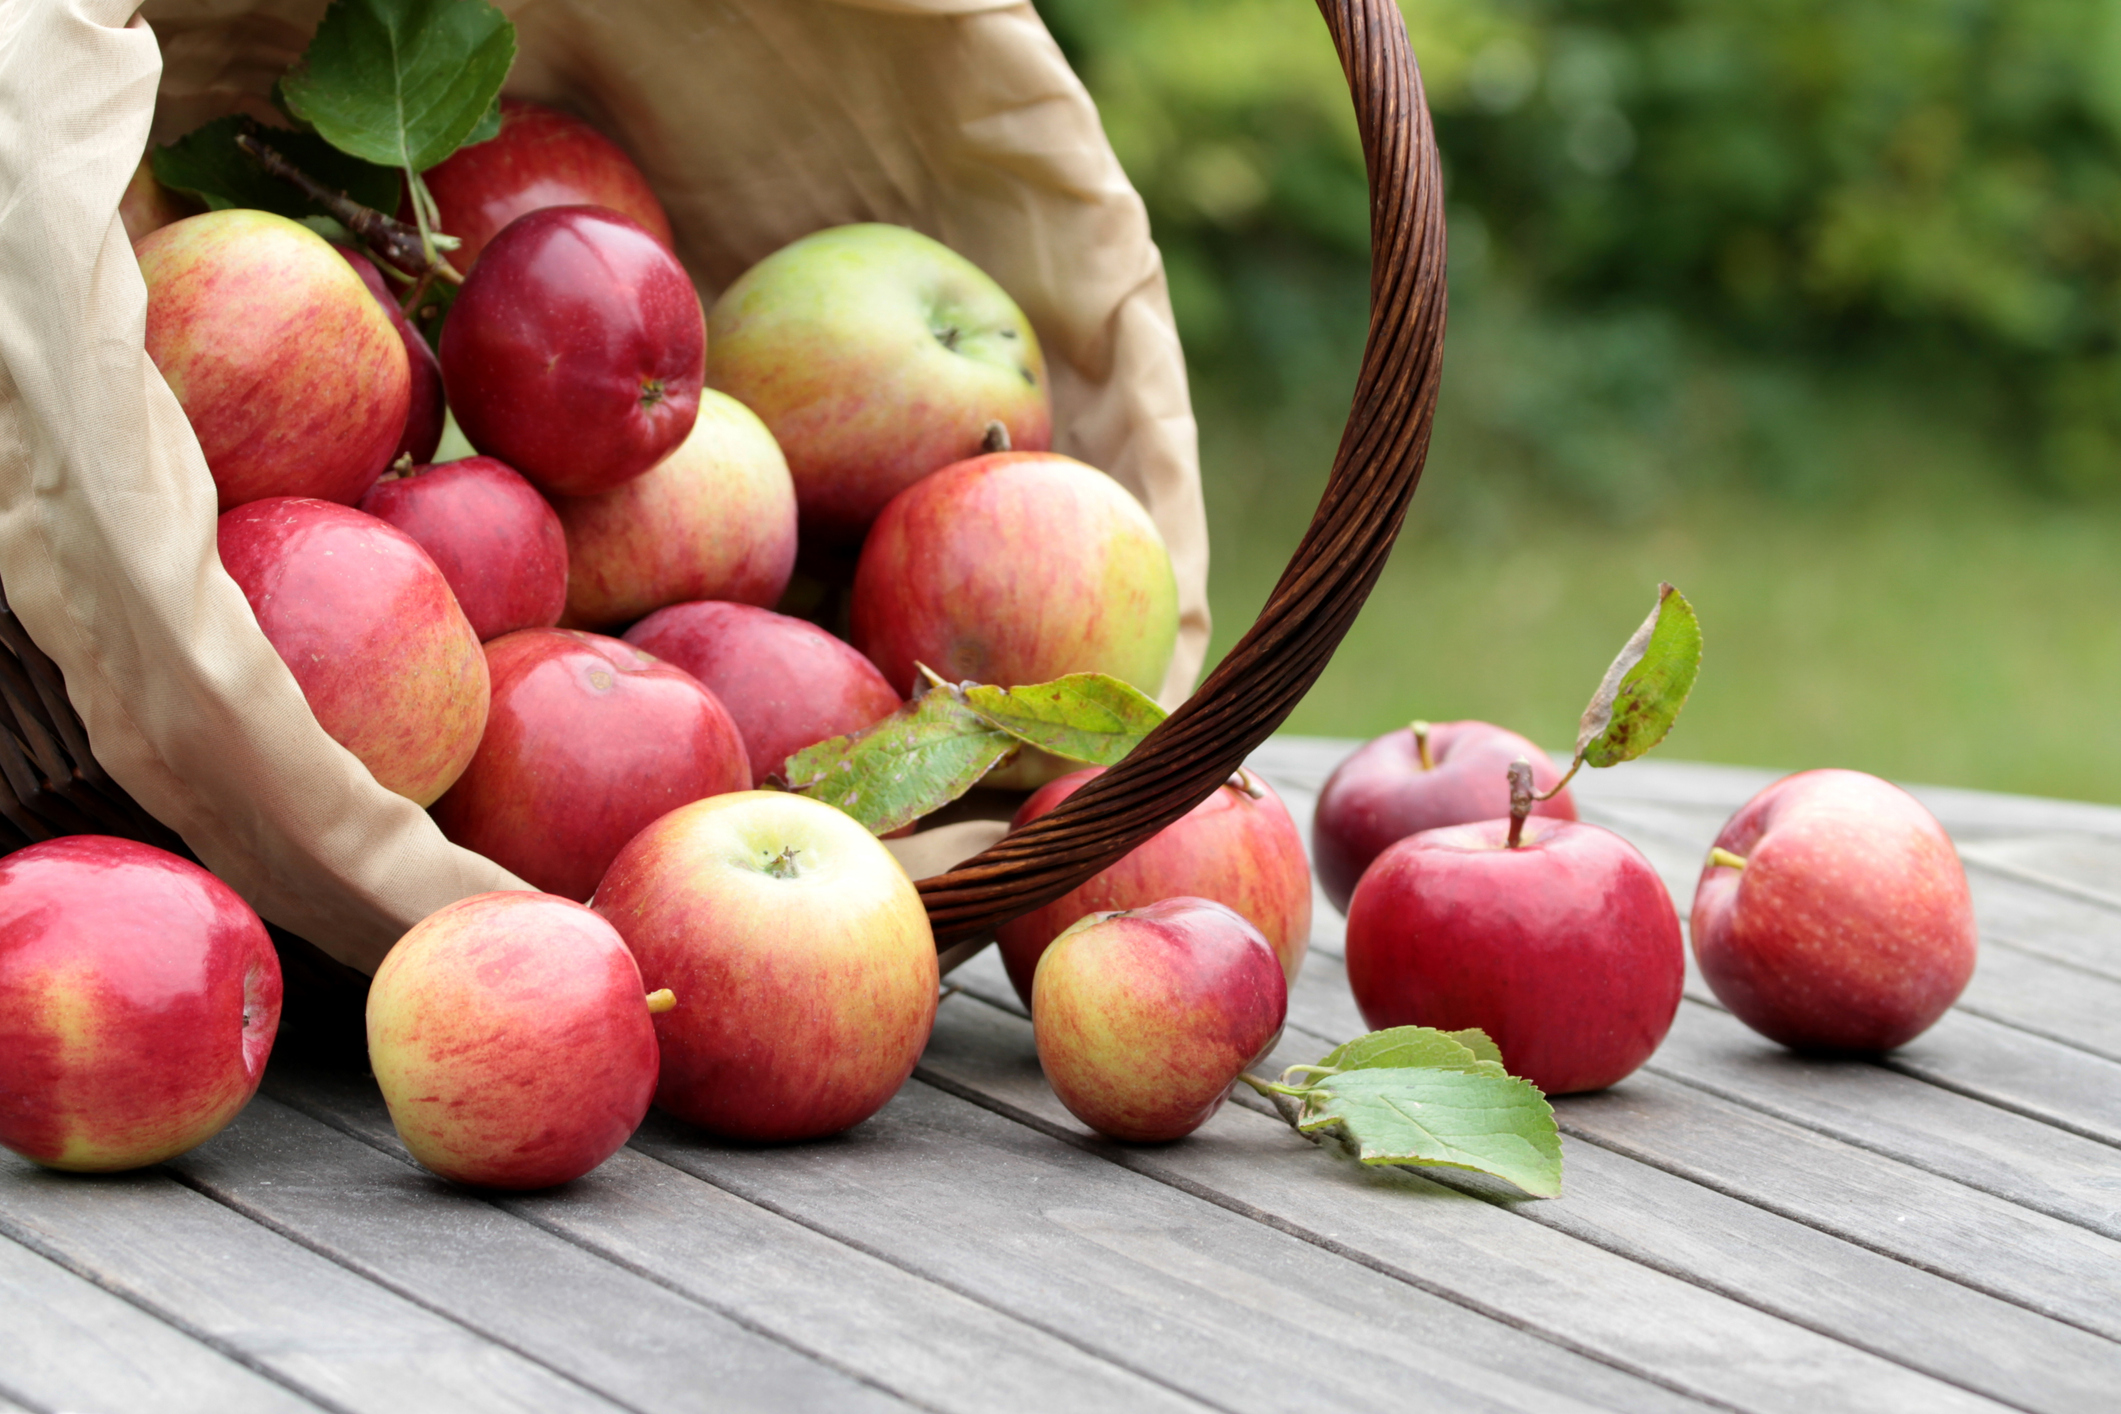
Fresh fruit, homemade pies or applesauce, maybe even hand-squeezed cider, there are many reasons to start a backyard orchard! Growing your own apple trees can be tasty and rewarding, but they do come with their share of challenges. Some problems are routine and easy to deal with, like watering. While others can be more serious and can feel a bit daunting to remedy, such as insects or fungus.
Here are a few helpful tips to start your orchard strong and also some easy fixes for problems that might come up.
Tip 1: Pick disease-resistant apple varieties.
The most crucial decision you make with a backyard orchard will be what kind of apples you’d like to grow. Do your homework and start reading about apples beyond the ones found in the store. These are often referred to as Heirloom or Antique apples. These varieties of apples have been around a long time and have developed defenses against common pests. And that’s good news for you, because letting the tree protect itself is one less thing you have to worry about! Don’t be scared of these apples just because you’ve never heard of them. Many of them arguably have better flavors and will keep in your fridge longer than commercial varieties.
Tip 2: Think about pollination.
In general, the more diverse types of apple trees you have, the better the chance of cross pollination. This means a healthier, sweeter apple. Most apple trees require a pollinizer but if you only have 1 spot open in your yard, fret not! There is a high chance one of your neighbors has a crabapple or maybe even another apple tree that will help fuel your tree. Or do a bit of homework and find an apple that is self-pollinating.
Tip 3: Choose the right spot for your backyard orchard.
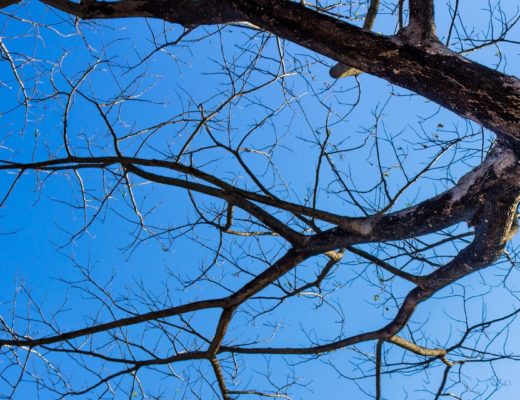
So now you’ve got the perfect apple variety and you’re ready to plant. When placing an apple tree, a good rule to remember is that you’re farming sunlight. Apple trees love full sun. Another key factor too often overlooked is airflow. The more spacious your planting area, the more air can travel through your tree — which helps prevent fungal infections and even helps to shoo away some harmful insects. Airflow also becomes important to help avoid spring frost injury during bloom. Keeping air moving will help prevent condensation — and therefore frost — from forming on the flowers. Apple trees also hate puddles or water-soaked soil. Try and find an area that isn’t too boggy and is well-drained. So try not to keep them tucked in the corner of the fence or behind your garage!
Also Read: Caring for Fruit Trees and Bushes: Raspberry
Tip 4: To start off, grow the tree and not the apples.
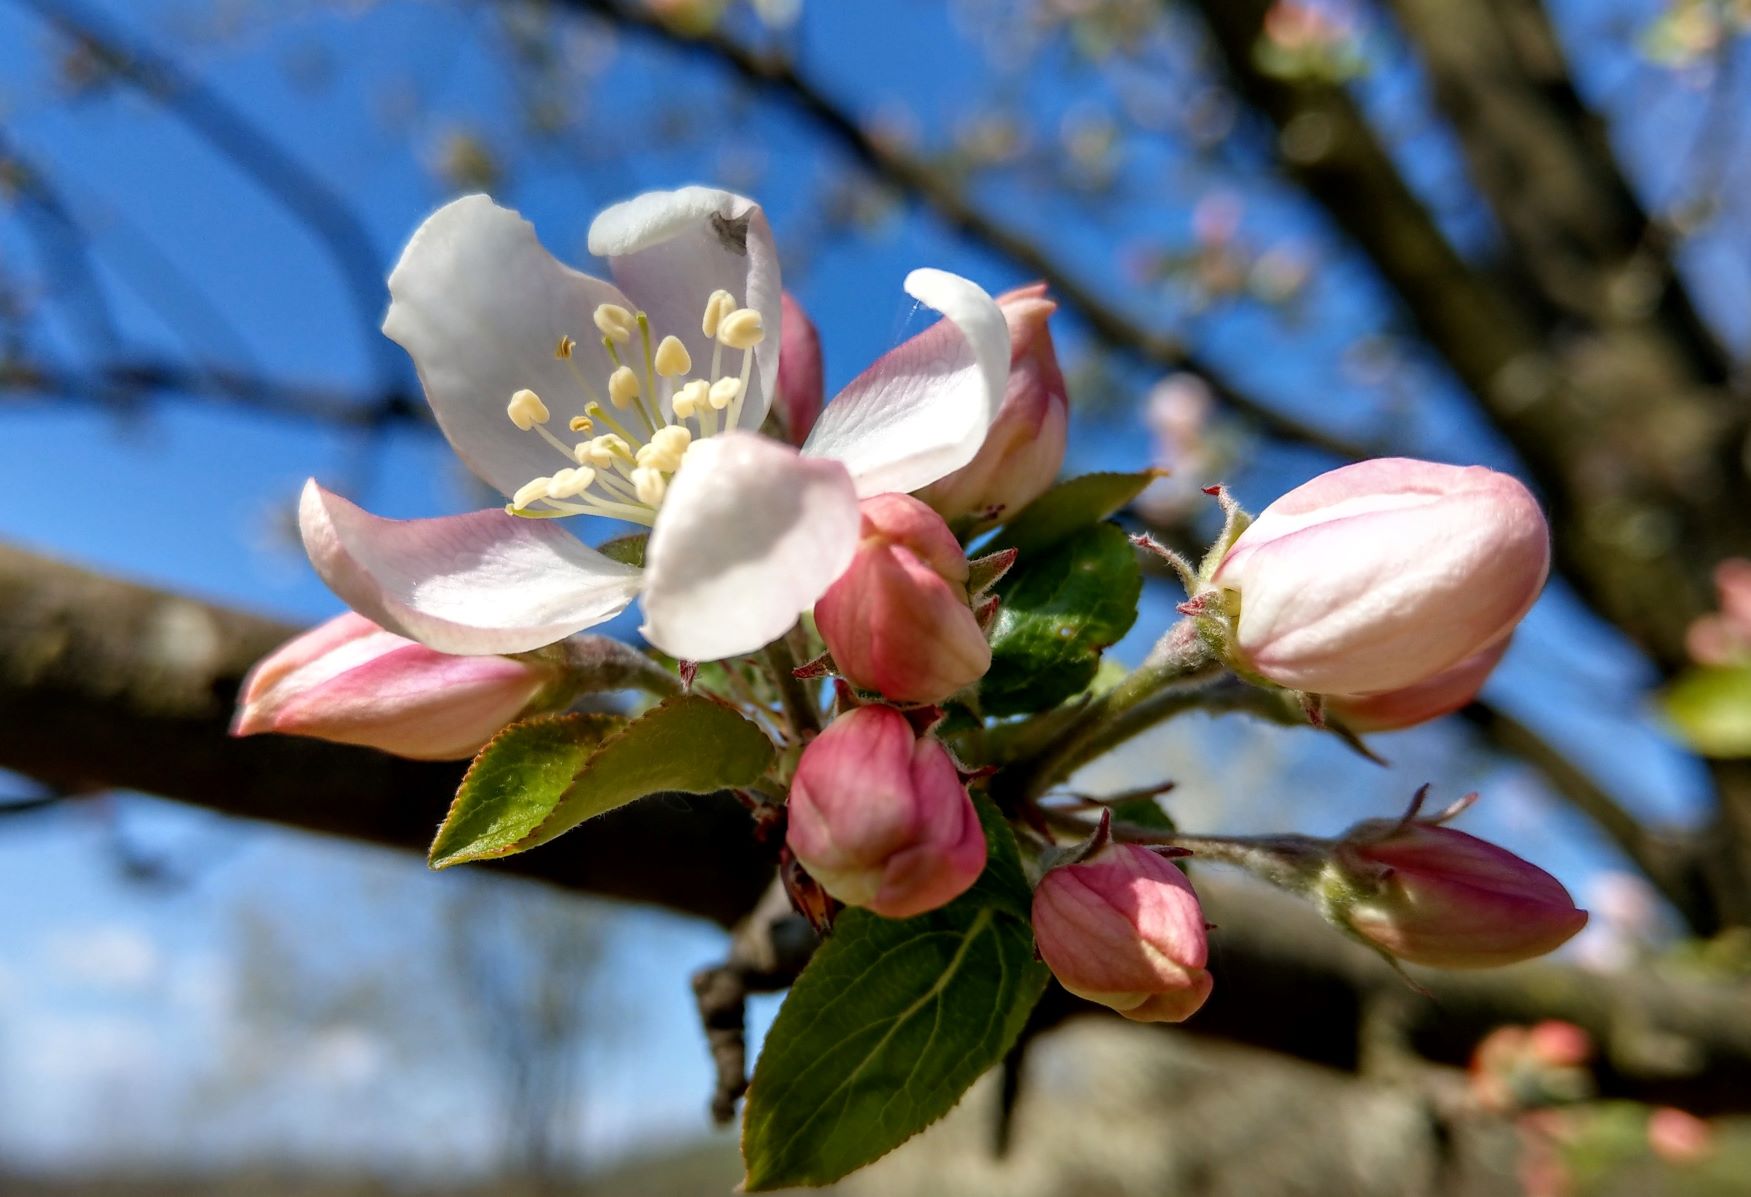
One of the best things you can do for a new apple tree is the hardest thing you’ll ever have to do. The first flowering season after you plant it, you need to pick off the flowers. Yup, actually pinch all the flowers off the tree. I know, I know! It kills you to have to do it, but your tree will thank you for it. Producing apples is the most energy consuming task the tree preforms. During the first year after planting the tree needs energy to establish its roots and grow leaf buds for more photosynthesis. If all the tree’s energy is going into producing apples it will not establish and grow the way it should and might have trouble surviving summer droughts or frigid winter temps.
Tip 5: Deal with pests as soon as you notice them.
Now when I say pest, I mean anything that pesters your trees: fungus, bacteria, insects, birds etc. Some are far more difficult to prevent or treat in the backyard setting, but there are ways to help. You may end up needing some heavier hitting methods. Below are a few short tips for helping with some common apple pests.
Apple Scab and Cedar Apple Rust. These are two common fungal diseases on the leaves of apple trees that can and will defoliate your tree if not taken care of. With fungal issues, there are two helpful phrases to remember: “The best defense is a good offense” (see Tip 1) and “a penny of prevention is worth a dollar of cure.” Many fungicide mixes from home garden shops will be able to keep these pests at bay. The secret? Hit the leaves hard and hit them early. The most critical time for fungal control in a backyard orchard is when the leaves first appear through bloom. Every half inch of new leaf growth needs to be covered to guarantee season-long protection. Otherwise, when the blossoms open the fungal spores can be mixed with the flower pollen which yields quite undesirable apples in the fall. If you notice a few leaves with brown spots on them later in the year go ahead and just pick those off, assuming there aren’t too many. Make sure to throw them away though and not just leave them on the ground as the spores can hop off the leaf and overwinter in the soil.
Coddling Moth. The bane of my existence. My mortal enemy. I’m Batman and he’s the Joker. These nasty little buggers are the apple’s most prominent pest. They are tricky to control, as they can have up to 4 generations in a year. Young larva emerge from the eggs and immediately burrow into the fruit, where they continue to grow until they are ready to pupate. I could write an entire paper on tips and methods to control them, but here are a few helpful hints. The easiest method is clearing the damaged fruit. Depending on your climate, begin looking at the fruit around middle to late June. Look for red-ringed holes on the side of the fruit or debris build up on the bottom calyx of the apple, as this signifies that a worm has entered it. By removing the apple as soon as possible, you can prevent that larvae from continuing its life cycle and thinning out the rest of the generation. Other methods of control involve trapping adult moths with pheromone lures to prevent them from mating and laying eggs. I recommend researching various strategies and finding the right one for you.
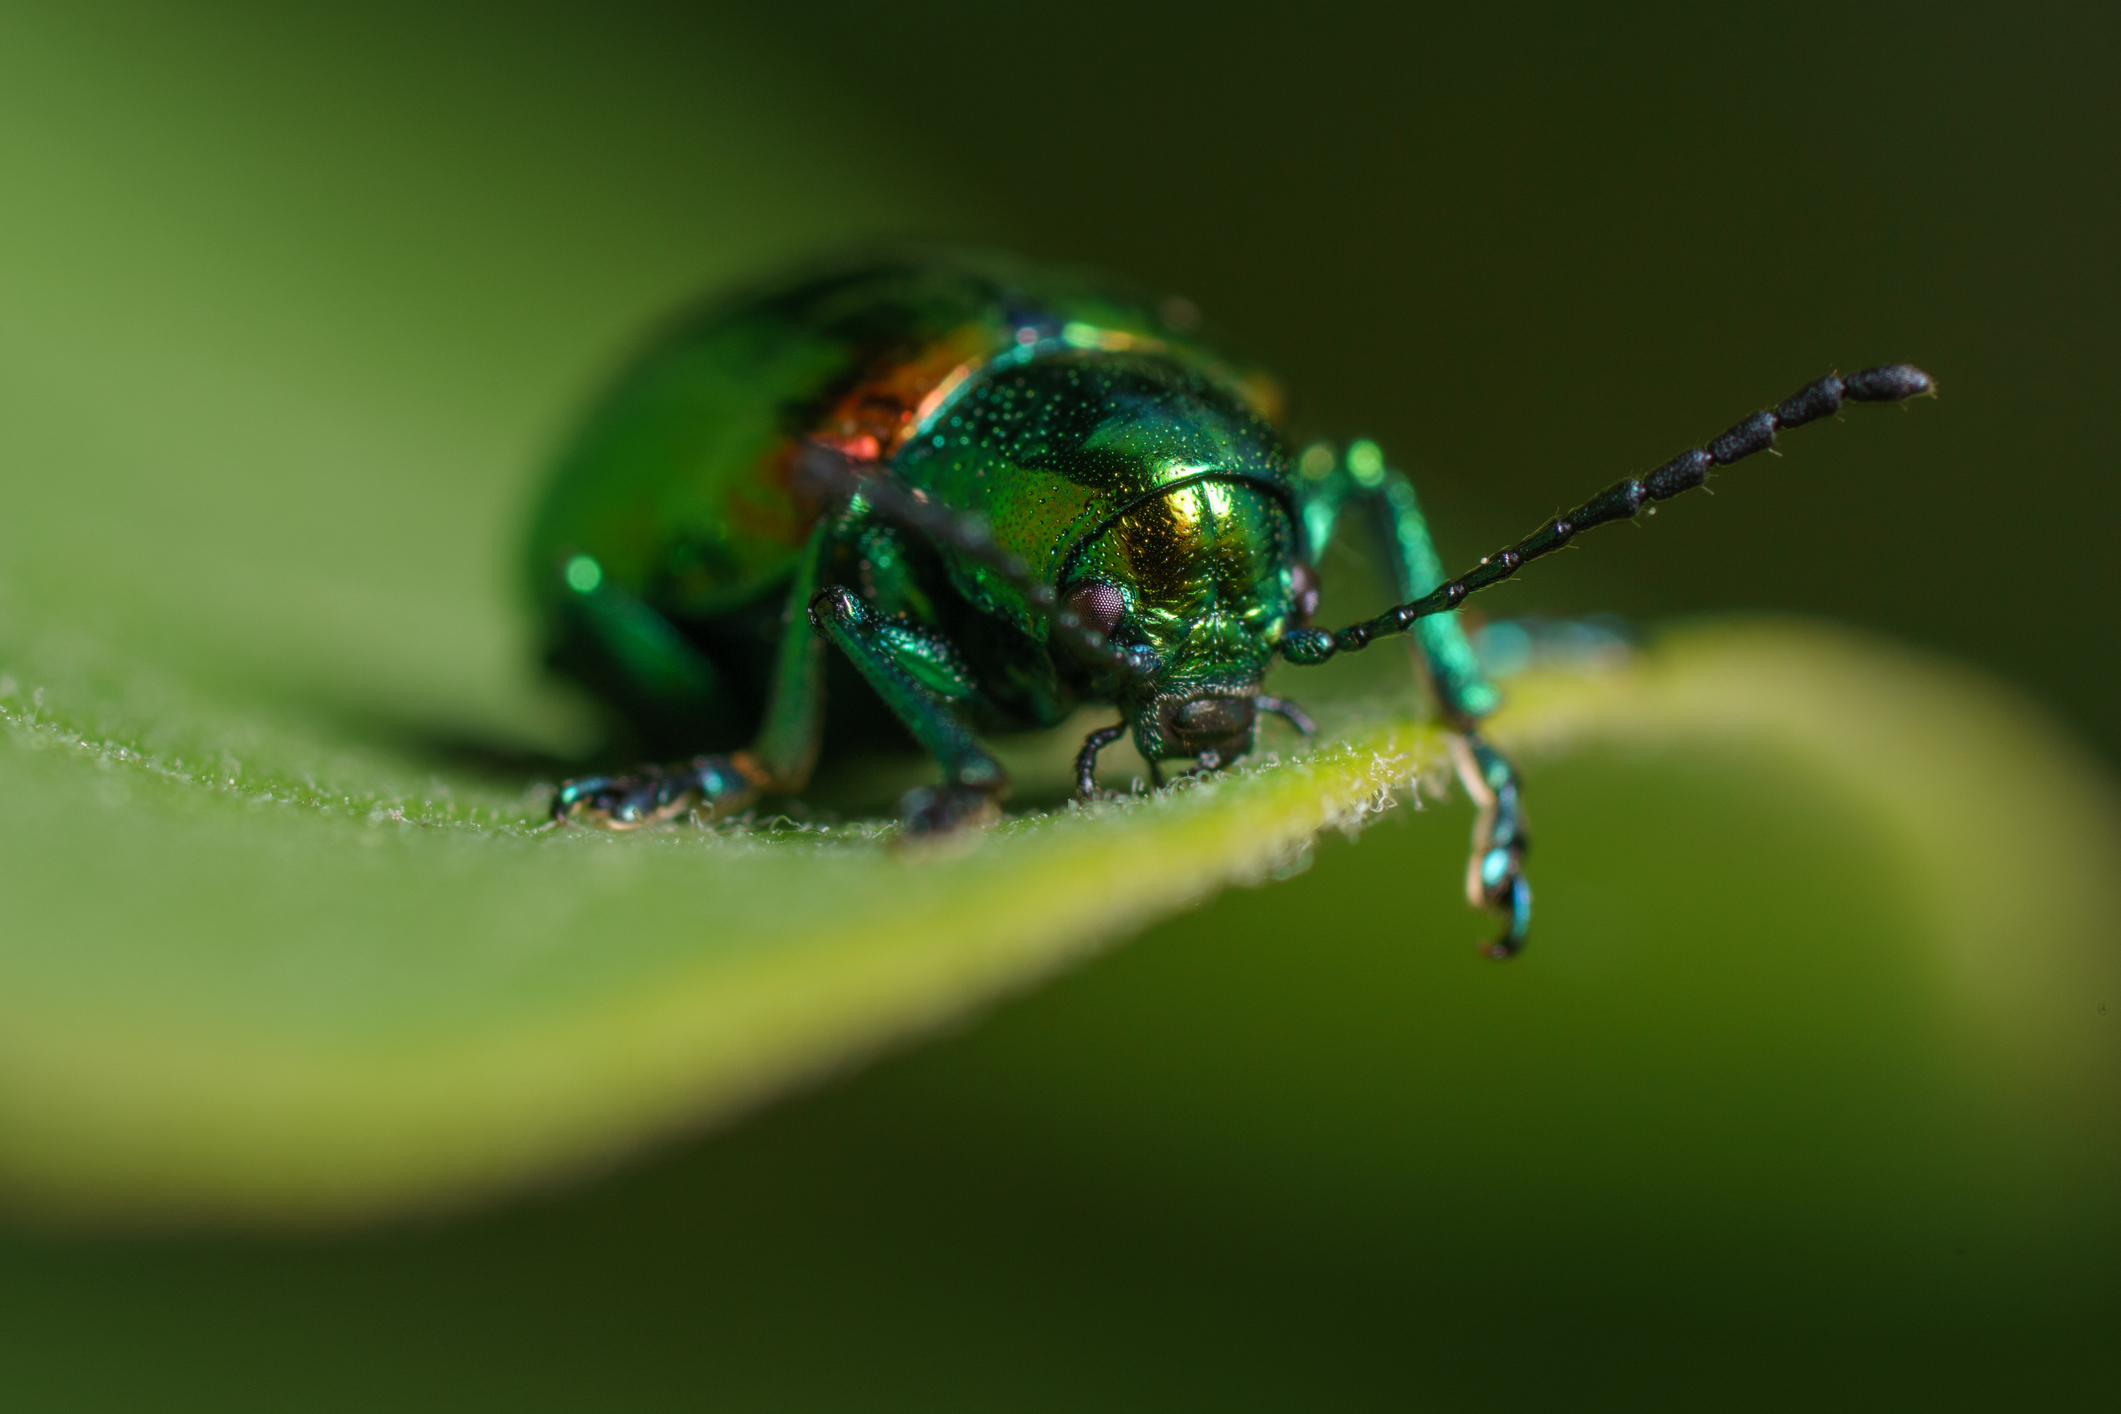
Japanese Beetles. An increasingly more common pest, these iridescent green beetles might look cool, but they’re the last thing you want to see in your yard. They munch on leaves, leaving them just a skeletonized frame, similar to your heart after seeing the damage. Despite the Japanese beetle having very few predators right now, they are fairly easy to control depending on the size of your trees. My favorite and most satisfying recommendation is shaking the branches. Beetles are heavy sleepers, and they tend to be slow risers after eating everything in sight all day. Go out in the early mornings, lay a tarp underneath your tree, and simply shake the branches free of the beetles. They’ll fall off into the tarp, and then you can funnel them all into a 5-gallon bucket of soapy water and leave them to drown. Repeat in the mornings as often as necessary. A second effective method (if you’re trees are small enough) is to spray the leaves with soapy water, creating an unpleasant barrier for the beetles that makes it harder to land and eat on the leaves. Many people lean towards trapping Japanese beetles because it seems effective. Yes, if you leave a trap out with an effective lure, you’re sure to capture a 50-gallon trash can worth in a season. The problem with that is beetles fly. And by luring them, there is no guarantee that they all fall into the trap. Instead you’ve now created a beacon for more beetles to come to your yard. So, I don’t recommend trapping by itself. Combining a couple different control methods might be the answer.
Tip 6) Be a supportive parent, not a helicopter parent.
If you’re a plant lover like myself, you want to do everything you can for your trees. But much like parenting your children, sometimes a more hands-off approach is effective. Let your tree grow — it knows what it’s doing! It will take a month or so for your new tree to establish its root system while it begins above-ground growth and budding out leaves for photosynthesis. Keep the tree well-hydrated by slowly pouring a 5-gallon bucket on it once a week if there is no rain or irrigation. Apply mulch around the base of the tree to retain moisture. But make sure the mulch is free from the trunk of the tree, as this can create rot at the base.
Don’t worry about fertilizing for the first couple of years. Nitrogen fertilizers promote leaf growth, and you want that energy going into the roots first. Fertilizing a young tree could send energy to the wrong places and stress it out. It’s always helpful to have some support in life. So if you have a metal T post or wooden stake (preferred), sink it next to your tree and use some twine to tether it. This will help keep it upright in the wind as well as help support it when the apples start coming. Another helpful item often overlooked is a trunk protector. A simple trunk barrier can provide protection from weed whackers, mowers, rabbits, and mice that like to chew on the wood.
Good luck and good growing!
With those helpful hints, you are well on your way to starting a successful backyard orchard. But as I always say, there is no right way when it comes to orcharding. The best way is the way that works for you. Find your groove and stick with it.